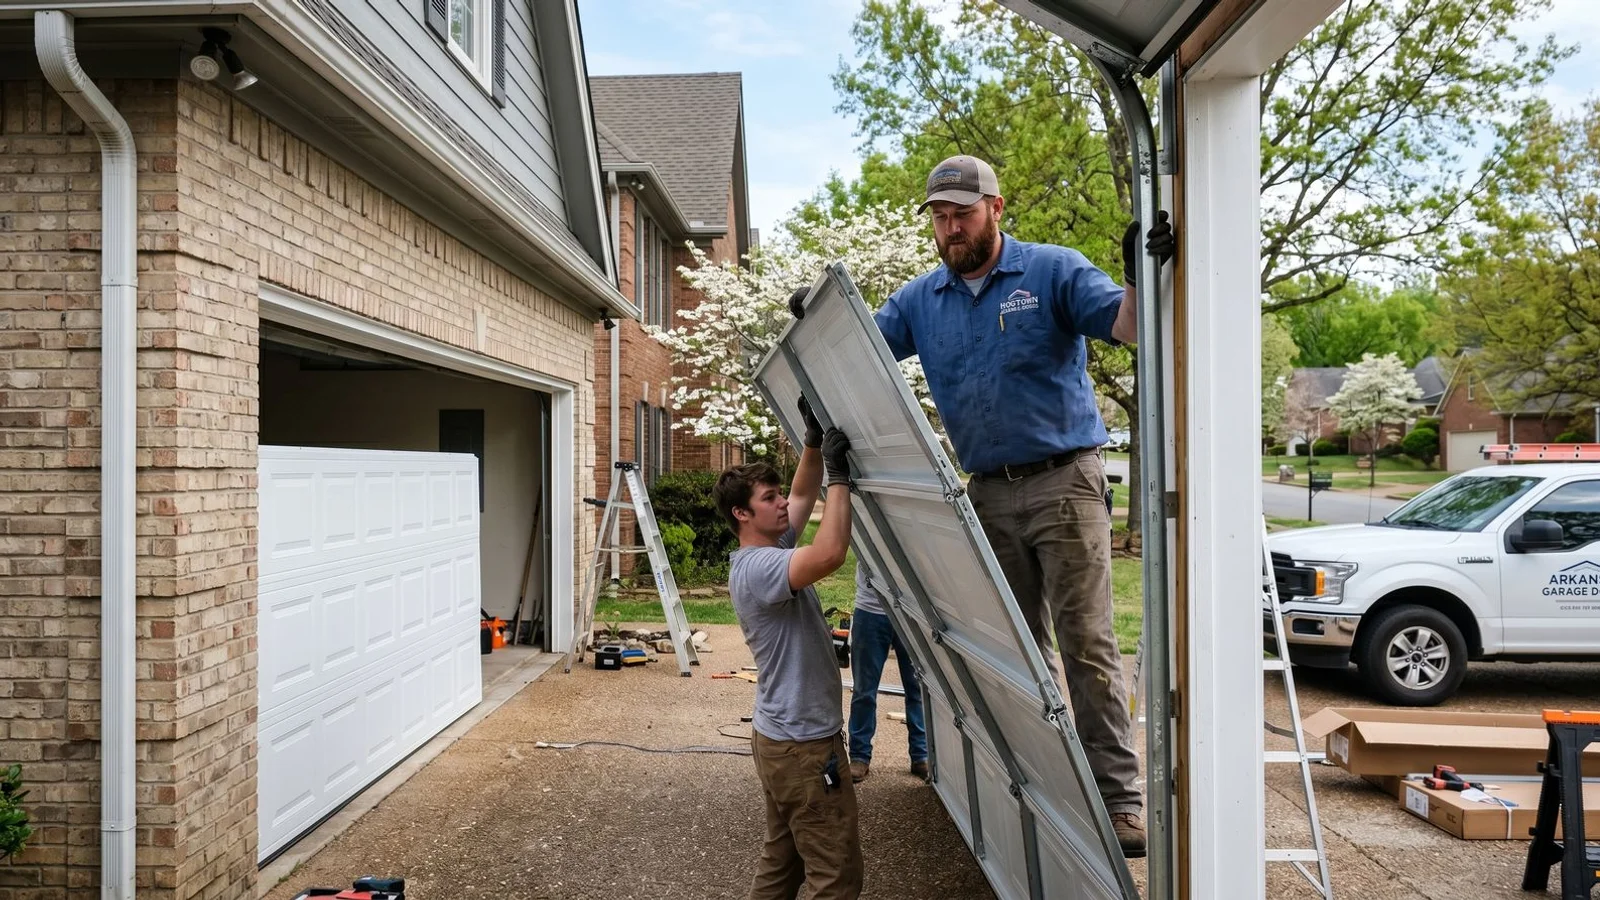
Garage Door Installation
How Long Does a New Garage Door Installation Take?
Most single-door installs take 4 to 6 hours; double-doors 6 to 8 hours. See the factors that extend it and how to prep your driveway.
We often hear from property owners who feel anxious about the timeline for replacing an aging garage door.
A torn-up driveway and an exposed home exterior can quickly disrupt a busy daily routine. That specific window of downtime is usually the dividing line between a simple afternoon fix and a stressful all-day project.
We find that most standard garage door installations across Northwest Arkansas run four to eight hours total.
Let’s break down the actual data behind these timelines, look at what adds extra hours, and outline the exact steps you should take to prep the site. The information below will help you know exactly what to expect on installation day.
Typical Timelines
We track these project times closely to ensure accurate scheduling for every customer. Most typical jobs fall neatly into predictable four to eight-hour windows based on 2026 industry averages. The exact duration of your installation depends heavily on the door size and the specific hardware required.
Our team finds that standard single-car doors, usually eight to nine feet wide, typically take four to six hours to fully mount and balance. This phase includes removing the old materials, installing fresh tracks, and placing the new exterior panels.
A modern 16-foot insulated steel double door has a springing weight of up to 350 pounds. We see double-car doors consistently take six to eight hours to finish because of this extra bulk. Handling that immense weight safely requires longer hardware runs and careful alignment.
Commercial and Oversized Timelines
The complex spring systems on oversized commercial doors demand exact tension adjustments for safe operation. We reserve eight to twelve hours for these massive units, depending heavily on ceiling clearance and operator style. Reviewing the breakdown below will help you plan your day around the specific size of your opening.
The following estimates reflect standard conditions without any structural complications.
| Door Type | Average Width | Estimated Time |
|---|---|---|
| Single-Car Residential | 8 to 9 feet | 4 to 6 hours |
| Double-Car Residential | 16 feet | 6 to 8 hours |
| Oversized / Commercial | Over 10 feet | 8 to 12 hours |
What Adds Time
We always inspect the opening first to spot any framing problems before the heavy tools come out. Unforeseen structural issues and optional equipment upgrades are the main factors that extend a project timeline. Adding a new motor or fixing rotted wood can push a half-day job into the late afternoon.
Our technicians factor in one to three hours of corrective carpentry for an out-of-square frame or a rotted sill plate. Fixing these structural defects is mandatory because the new unit will bind and fail if the walls are not perfectly plumb. Upgrading to a reliable model like a 1/2-horsepower LiftMaster involves removing the old motor and mounting the new rail system.
We add an extra 60 to 90 minutes to the schedule if you request this brand-new opener. Heavier double doors often need a 3/4-horsepower unit, which requires strong ceiling reinforcement. Specific regional building codes can also dictate the pace of the work.
Custom Upgrades and Structural Codes
Our crews spend an extra 30 to 60 minutes installing reinforcement bracing if local regulations mandate a high wind-load rating. Meeting these rigorous codes keeps your property secure during intense midwestern storms. The list below highlights the most common additions to an installation schedule.
- Opener Swap: Adds 60 to 90 minutes for motor mounting and sensor programming.
- Panel Re-framing: Adds 1 to 3 hours to correct out-of-square openings.
- Custom Overlays: Adds 60 minutes for precision decorative hardware placement.
- Wind-Load Bracing: Adds 30 to 60 minutes to meet local structural codes.
Homeowner Prep
We require a clear workspace to ensure a safe and efficient installation process. Proper site preparation prevents delays and gives the installers the room they need. Moving your vehicles out of the driveway by 7:30 AM is the most critical first step.
Our installers recommend parking at least 10 to 15 feet away from the garage entrance. This specific distance provides ample room for the work trucks while keeping your car close enough for HomeLink remote pairing later. Clearing a wide path from the driveway to the interior walls also prevents tripping hazards while moving heavy steel panels.
We do not require you to stand inside the garage during the actual construction phase. The heavy lifting creates a noisy environment that is better avoided until the final steps. You should plan to be home for the final walkthrough, which covers essential safety features and remote programming.
Managing Vehicle Remotes
Our team asks that you have any vehicles with built-in garage clickers readily available at the end of the job. Synchronizing a car to a new Security+ 2.0 system usually takes just a few minutes if the vehicle is parked just outside the door. Having fresh batteries in your handheld remotes ensures a strong signal during this pairing process.
What Happens After Install
We take the final testing phase very seriously to ensure every component operates smoothly and safely. The concluding walkthrough covers all strict federal safety standards and takes just 15 to 20 minutes of your time. A manual balance test proves that the torsion springs are perfectly tensioned while disconnected from the opener.
Our technicians set the exact force and travel limits on the motor to prevent the machinery from straining during daily use. Federal regulations, specifically the UL 325 standard updated in 1993, mandate that photoelectric sensors must sit no higher than six inches off the floor. This strict six-inch rule guarantees the invisible beam will detect a small child or pet crawling underneath.
Finalizing Your Setup
We finish the appointment by programming your wall console and testing the automatic reversal system. A piece of cardboard placed flat on the concrete proves the door will immediately stop and reverse upon impact. Walking you through routine operation and warranty paperwork wraps up the entire project.
Our local office is ready to help you upgrade your home exterior.
Call (479) 469-8829 to schedule your installation. A firm arrival window guarantees your day stays completely on track.
Frequently Asked Questions
Do I need to be home during the install?
We'll need access at the start and end. You don't have to wait in the garage, but be available for the final walkthrough and remote programming.
Can you install a new door and opener the same day?
Yes — that's our preference. Same-day install means one driveway-blocked day instead of two.
What happens if it rains?
Light rain is fine. Heavy storms we'll reschedule — the install needs dry conditions for adhesive and torque-sensitive hardware steps.